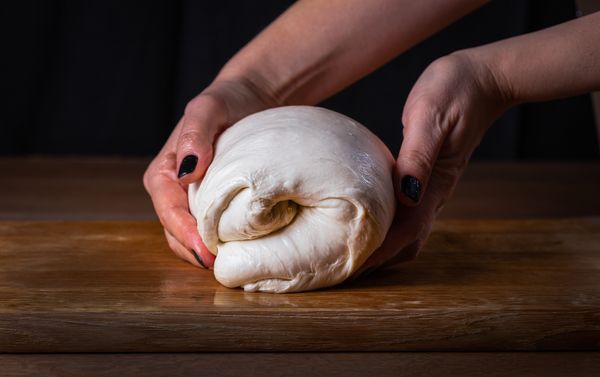
It is easy to assume that (bread) baking it is not only an art in its own right, but there is also a science behind it. Fortunately, there are bakers with years of experience who provide us with tips and tricks. Therefore, in today’s article we will devote ourselves to the technique of so-called “rolling and folding”.
Repeated rolling out and folding of dough* gives it more structure and more firmness. Moreover, rolling out and folding “knead out” the gases produced during proofing, which helps the dough to rise even further.
For medium-firm to soft doughs , it is recommended to roll out and fold the dough with wet hands in a bowl that is not too wide. To do this, take the dough at the back end, roll it out still on top and fold it towards you on top of the rest of the dough. Then process the opposite side in the same way.
For soft to very soft doughs, is the use of a spatula suitable. Lift and roll out the dough in a bowl on one side with the dough spatula and fold toward the center of the bowl. Now turn the bowl a few degrees at a time and complete the process again.
Best case scenario, try the different methods with your doughs and find what works best for you. We wish you good luck!
If you still want to know what parts make up a loaf of bread, then you are HERE just right >>
*We assume a yeast dough after proofing, that is, after it has rested or risen.
Baker’s Latin – Lutz Geißler. 2022. Rolling out and Folding. https://www.baeckerlatein.de/dehnen-und-falten/ (accessed June 19, 2022)
Bread enjoyment – now is baked – Bastian Esser.2022. Roll out and fold the dough. https://brotgenuss.jimdo.com/anleitungen/teig-dehnen-und-falten/ (accessed June 19, 2022)
Address:
Gasteigweg 25,
5400 Hallein
Austria
Opening hours:
Monday to Thursday: 09 – 16:00
Friday: 09 – 12:00
Contact:
Phone: +43 6245 83282
E-mail: [email protected]
Address:
Gasteigweg 25,
5400 Hallein
Austria
Opening hours:
Monday to Thursday: 09 – 16:00
Friday: 09 – 12:00
Contact:
Phone: +43 6245 83282
E-mail: [email protected]

